Why You’ll Love this Gluten Free Brownies Recipe
If you’re looking for a delicious dessert that won’t compromise your gluten-free lifestyle, you’ll love this brownie recipe. I’m always searching for treats that satisfy my sweet tooth without the gluten, and these brownies deliver every time.
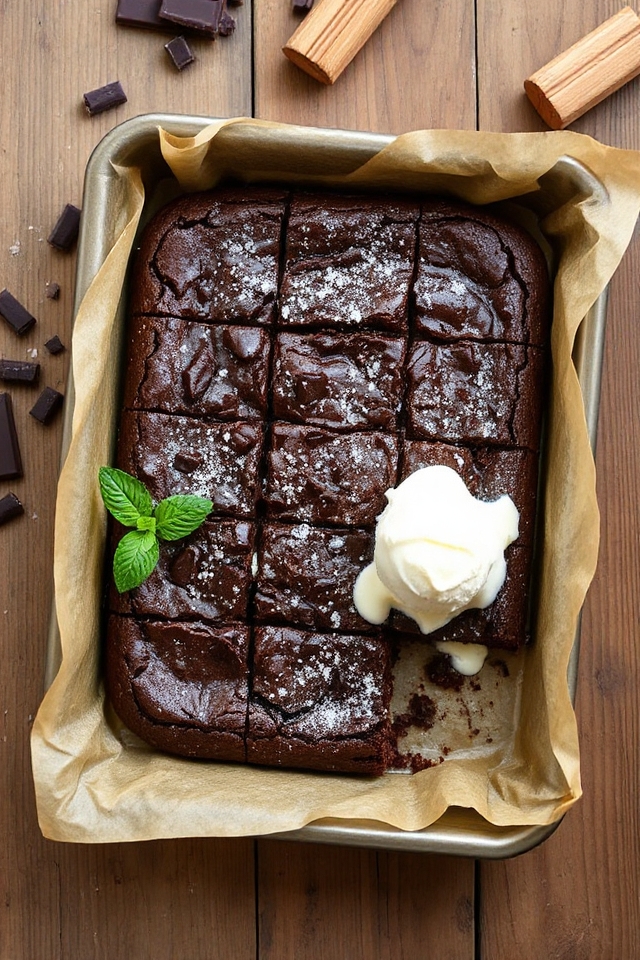
They’re rich, fudgy, and incredibly satisfying, making them perfect for any occasion. Each bite melts in your mouth, and the chocolate flavor is simply divine. Plus, they’re easy to whip up, requiring just a few simple steps.
I often find myself making a double batch because they disappear so quickly! Whether you’re enjoying them on their own or topped with ice cream, these brownies are sure to impress anyone, gluten-free or not.
Trust me, you won’t be disappointed!
Ingredients of Gluten Free Brownies
When it comes to whipping up a batch of gluten-free brownies, having the right ingredients is key. You want to make sure that every bite is as rich and fudgy as you remember. The beauty of this recipe lies in its simplicity, using a blend of gluten-free flours and the magic of chocolate. Trust me, you won’t even miss the gluten in these decadent treats.
So, let’s plunge into what you’ll need to make these mouthwatering brownies.
Here’s the ingredient list:
- 1/4 cup almond meal
- 1/2 cup cornstarch
- 1/2 cup tapioca flour
- 1 3/4 teaspoons guar gum
- 1 teaspoon kosher salt
- 1 cup unsalted butter
- 4 ounces unsweetened chocolate
- 2 ounces bittersweet chocolate
- 2 cups sugar
- 2 teaspoons pure vanilla extract
- 5 medium eggs
Now, before you start gathering your ingredients, let’s chat about a couple of things. First, if you’re not familiar with guar gum, don’t worry—it’s a common ingredient in gluten-free baking that helps give structure and moisture to baked goods.
And if you’re feeling adventurous, you can play around with the types of chocolate you use. Dark chocolate lovers might want to increase the bittersweet chocolate for a deeper flavor, but remember, balance is key.
Also, if you have a nut allergy or just aren’t a fan of almond meal, feel free to swap it out for another gluten-free flour. Just keep those proportions in mind, and you’ll still end up with a deliciously fudgy brownie!
How to Make Gluten Free Brownies

Now that you’ve gathered your ingredients, it’s time to plunge into the wonderful world of gluten-free brownie baking. First things first, preheat your oven to a cozy 350ºF. While it’s warming up, grab your trusty 9 x 13” baking pan. Butter it up and line it with parchment paper. This makes it so much easier to lift out your brownies later, and trust me, you’ll want to do that to avoid the dreaded “brownie stuck to the pan” scenario. Nobody wants to be fishing out crumbs.
Next, let’s get that chocolate and butter melting. In a double boiler (or a makeshift one with a heatproof bowl over simmering water, if you’re feeling crafty), combine 1 cup of unsalted butter with 4 ounces of unsweetened chocolate and 2 ounces of bittersweet chocolate. Stir it gently, keeping a close eye on it—no one wants burnt chocolate.
Once it’s silky smooth, whisk in 1 cup of sugar right off the heat. Set that aside for a moment while you tackle the dry ingredients. In a separate bowl, mix together 1/4 cup of almond meal, 1/2 cup of cornstarch, 1/2 cup of tapioca flour, 1 3/4 teaspoons of guar gum, and 1 teaspoon of kosher salt. This blend of flours will give your brownies that perfect fudgy texture.
Now for the fun part—combining everything! In another bowl, whisk 5 medium eggs with the remaining 1 cup of sugar until they puff up and almost double in volume. It’s like magic watching them transform.
Gently fold half of this egg mixture into your warm chocolate mixture, followed by half of the dry ingredients. Repeat with the remaining egg and dry ingredients, whisking until your batter is smooth and chocolatey.
Pour this delectable mixture into your prepared baking dish and pop it in the oven for about 25 minutes. You know it’s done when the top has a gentle crack around the edges—this is where the magic happens.
Allow it to cool completely before you lift it out using the parchment paper. Slice it up, maybe enjoy a piece with a scoop of ice cream, and don’t forget to save some for later. They’re even better the next day! Happy baking!
Gluten Free Brownies Substitutions & Variations
After enjoying the rich, fudgy goodness of those gluten-free brownies, it’s fun to think about ways to mix things up.
For a nutty twist, I often swap out some of the butter for almond or peanut butter. If you’re craving a fruity flavor, consider adding chocolate chips or chopped nuts, like walnuts or pecans, into the batter.
For a hint of spice, a teaspoon of cinnamon or a dash of espresso powder can elevate the chocolate taste. You can even experiment with different sweeteners, like coconut sugar or maple syrup, for a unique touch.
Just remember to adjust the dry ingredients accordingly. These variations keep my brownie game exciting and delicious!
What to Serve with Gluten Free Brownies
While indulging in gluten-free brownies, I love to think about what pairs perfectly with their rich, fudgy texture. One of my favorite combinations is a scoop of vanilla ice cream. The creamy sweetness complements the brownies beautifully.
If I’m feeling adventurous, I might drizzle some warm caramel or chocolate sauce on top for extra decadence. Another delightful option is to serve them with fresh berries; the tartness of raspberries or strawberries cuts through the richness and adds a revitalizing touch.
For a warm drink, a cup of coffee or a glass of cold milk balances the sweetness perfectly. Whatever I choose, these pairings elevate my brownie experience to a whole new level of indulgence!
Additional Tips & Notes
To guarantee your gluten-free brownies turn out perfectly, I’ve got a few tips that can make a big difference.
First, always use high-quality chocolate; it truly enhances the flavor. Don’t skip the parchment paper—lining your pan guarantees easy removal and clean slices.
When melting the chocolate and butter, keep the heat low to avoid scorching. For a fudgier texture, slightly underbake the brownies; they’ll continue cooking as they cool.
If you want to elevate your brownies, try adding a pinch of espresso powder to intensify the chocolate flavor.
Finally, let them cool completely before slicing; this helps them set up nicely. Trust me, these small details make a world of difference in your gluten-free brownie experience!