Why You’ll Love this Gluten Free Waffles Recipe
Gluten-free waffles are a game changer for breakfast lovers like me!
There’s something truly satisfying about biting into a warm, fluffy waffle, knowing it’s not only delicious but also gluten-free. This recipe makes it easy to whip up a batch in no time.
I love how versatile they are; you can top them with fresh fruit, syrup, or even a dollop of yogurt. Plus, they’re a hit with everyone, gluten-free or not!
The texture is light and crispy on the outside while remaining soft inside. I can’t help but feel a sense of accomplishment when I serve these to friends and family.
Once you try them, you’ll understand why gluten-free waffles are my go-to breakfast choice!
Ingredients of Gluten Free Waffles
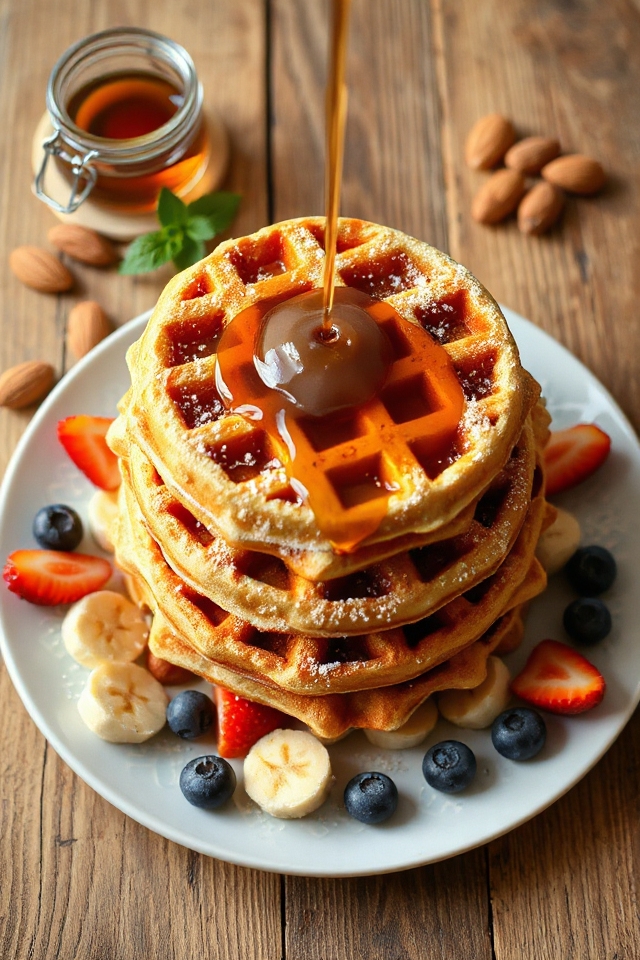
When it comes to whipping up a delicious breakfast that’s also gluten-free, these Almond Bliss Gluten Free Waffles are a perfect choice. They’re super easy to make, and the ingredients are simple and affordable. Plus, you probably have most of them in your pantry already.
What I love about these waffles is that they don’t just cater to those avoiding gluten; they’re a treat for anyone who loves a good breakfast. So, let’s explore the list of ingredients you’ll need to make these yummy waffles.
- 1 1/2 cups all-purpose gluten-free flour
- 2 teaspoons baking powder
- 1 1/2 tablespoons sugar
- 1/2 teaspoon baking soda
- 1/2 teaspoon salt
- 1 large egg
- 1 cup milk (if you’re using almond, flax, or soy milk, add 3 tablespoons of water)
- 1 tablespoon cooking oil
Now, let’s chat a bit about the ingredients. If you’re new to gluten-free cooking, picking the right flour is key. I recommend using a good quality all-purpose gluten-free flour blend, as it often contains a mix of rice flour, tapioca, and other gluten-free flours, which work wonders in providing a nice texture to the waffles.
And don’t sweat it if you don’t have milk on hand; you can easily swap in almond or soy milk, just remember to add that little bit of water. As for the sugar, feel free to adjust it based on your taste. A touch of honey or maple syrup can also be a delightful alternative if you want to switch things up.
How to Make Gluten Free Waffles

Alright, let’s get into the fun part—making those Almond Bliss Gluten Free Waffles. First things first, grab your mixing bowl or a blender if you’re feeling fancy. You’ll want to combine 1 1/2 cups of all-purpose gluten-free flour with 2 teaspoons of baking powder, 1 1/2 tablespoons of sugar, 1/2 teaspoon of baking soda, and 1/2 teaspoon of salt.
Give it a good whisk or blend until everything’s nicely mixed; it should look like a fluffy cloud of dry ingredients. Now, if only my laundry could be that fluffy!
Next, let’s bring in the wet ingredients. You’ll need 1 large egg, 1 cup of milk, and 1 tablespoon of cooking oil. If you’re using almond, flax, or soy milk, don’t forget to add an extra 3 tablespoons of water—trust me, it makes a difference.
Whisk or blend everything together until you have a smooth batter. Let it sit for about five minutes; this is like the batter’s little spa break. Meanwhile, preheat your waffle iron. I always forget this step and end up with a sad, soggy waffle that’s just not cute.
A quick tip: lightly oil the waffle iron before pouring in the batter, especially if you want to avoid a sticky situation.
Now for the moment of truth—cooking those waffles! Pour about 1/4 of the batter (or whatever amount your waffle iron suggests) onto the heated iron. Close the lid and let it work its magic until the steam stops and your waffle looks golden brown, which should take about 4 to 6 minutes.
Just don’t peek too often; you want to avoid a waffle that’s more “meh” than “wow.” Once they’re done, repeat with the remaining batter.
And there you have it! Delicious, gluten-free waffles that are sure to impress anyone, even if you’re still wearing your pajamas. Enjoy with your favorite toppings, like fruits, syrup, or a sprinkle of powdered sugar, and bask in the glory of your breakfast masterpiece.
Gluten Free Waffles Substitutions & Variations
If you’re looking to mix things up with your waffles, there are plenty of substitutions and variations to contemplate.
For instance, you can swap out all-purpose gluten-free flour for almond flour or coconut flour to add a nutty flavor. If you want to enhance the sweetness, try using maple syrup or honey instead of sugar.
For a dairy-free option, almond, coconut, or oat milk works beautifully—just remember to adjust the liquid slightly if needed. You could even toss in some blueberries, chocolate chips, or chopped nuts for added texture and flavor.
Experimenting with spices like cinnamon or vanilla extract can elevate your waffles too. The possibilities are endless, so have fun creating your perfect gluten-free waffle!
What to Serve with Gluten Free Waffles
What makes a breakfast truly satisfying? For me, it’s all about the toppings and sides that elevate gluten-free waffles to a new level.
I love adding fresh fruits like strawberries, blueberries, or banana slices for a burst of flavor and natural sweetness. A dollop of Greek yogurt or whipped cream adds creaminess that perfectly complements the waffles’ texture.
Maple syrup is a classic choice, but I also enjoy drizzling almond butter or honey for a nutty twist. If I’m feeling adventurous, I might sprinkle some nuts or seeds for crunch.
Pairing these waffles with crispy bacon or a side of scrambled eggs rounds out the meal beautifully, making it a delightful start to my day!
Additional Tips & Notes
When making gluten-free waffles, a few tips can really enhance your experience. First, don’t skip letting the batter rest for five minutes; it helps create a fluffier texture.
If you’re using almond or other non-dairy milk, remember to add that extra water for the right consistency. Make certain your waffle iron is properly preheated; a hot iron guarantees crispy edges.
I also recommend lightly oiling the iron each time, even if it’s non-stick, to prevent sticking.
Finally, if you’ve got leftovers, freeze them! They reheat beautifully in the toaster, making for a quick breakfast.
Experiment with mix-ins like chocolate chips or blueberries to personalize your waffles. Enjoy your delicious creations!