
Why You’ll Love this Gluten-Free Cherry Icebox Cookies Recipe
If you’re looking for a delightful treat that’s both gluten-free and bursting with flavor, you’ll love this Cherry-Studded Icebox Cookies recipe.
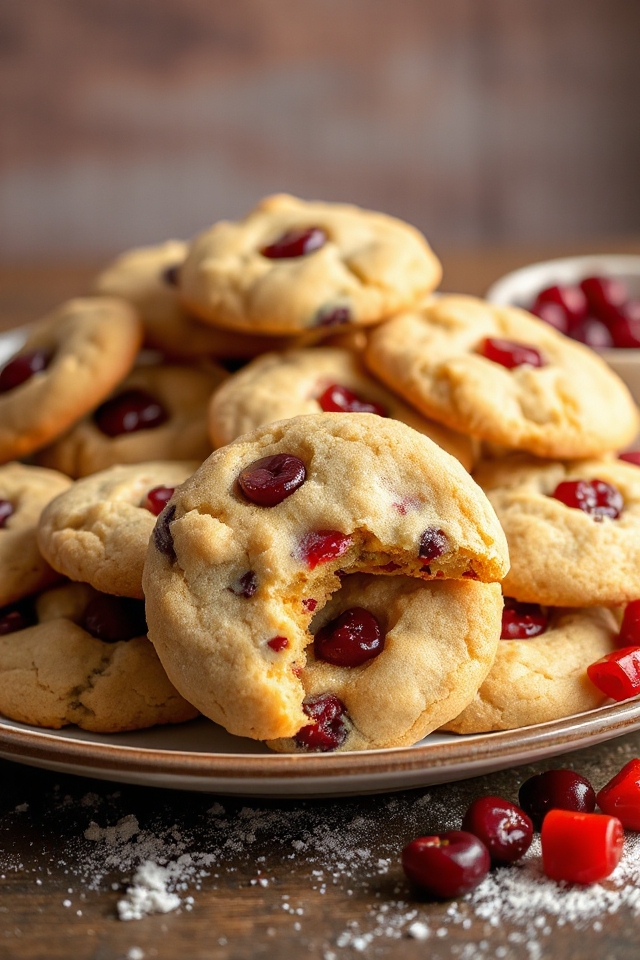
These cookies aren’t just a tasty indulgence; they’re incredibly easy to make. I adore how the buttery richness pairs perfectly with the sweet, chewy cherries, creating a unique flavor profile that’s hard to resist.
What’s more, the dough can be prepared ahead of time, and you can slice and bake them whenever you crave a sweet snack. This flexibility means I always have a homemade treat on hand.
You’ll find that each bite is a lovely balance of textures and tastes, making these cookies an instant favorite for anyone, gluten-free or not!
Ingredients of Gluten-Free Cherry Icebox Cookies
When it comes to baking, the right ingredients can make all the difference, and these Gluten-Free Cherry Icebox Cookies are no exception. With a blend of unique flours and sweet candied cherries, this recipe isn’t only gluten-free but also a treat that everyone can enjoy.
You might be pondering, “Do I really need all those different types of flour?” Trust me, they each play a role in giving the cookies their delightful texture and flavor. So, let’s plunge into what you’ll need to whip up these delicious cookies.
Here’s the list of ingredients you’ll need:
- 1 cup butter (not margarine)
- 2/3 cup sugar
- 2 eggs
- 1 teaspoon vanilla extract
- 1 1/2 cups sweet rice flour
- 1/2 cup potato starch
- 1/2 cup light stoneground buckwheat flour
- 1 cup candied cherries, finely chopped (drained)
Now, before you start gathering your ingredients, it’s essential to reflect on a few things. First, make sure that your butter is at room temperature; it’ll blend better with the sugar, creating that lovely creamy texture we all love.
And if you’re wondering about the candied cherries, don’t skip the draining part; excess liquid can make your dough too wet, which isn’t what we want. Plus, if you can find high-quality cherries, go for it—they’ll pack a bigger punch of flavor in your cookies.
Just a heads-up, if you can’t find the light stoneground buckwheat flour, you might be able to substitute it with another gluten-free flour, but the flavor might change a bit. All set? Let’s get baking!
How to Make Gluten-Free Cherry Icebox Cookies
Making Gluten-Free Cherry Icebox Cookies is a delightful endeavor, and trust me, you’ll want to savor every step of the process. First things first, grab that 1 cup of butter (not margarine, please) and let it come to room temperature. This is essential because it helps the butter cream up nicely with the 2/3 cup of sugar. I always find that creaming these two ingredients is like the magic moment when the flavors start to come alive—so take your time with it!
Once you’ve got a fluffy mixture, it’s time to add in the 2 eggs and a teaspoon of vanilla extract. Beat it all together until it’s smooth and creamy; just imagine how good this is going to smell.
Now, let’s talk about the flours. You’ll need 1 1/2 cups of sweet rice flour, 1/2 cup of potato starch, and 1/2 cup of light stoneground buckwheat flour. Yes, that’s three different flours, and yes, they all serve a purpose. It’s like they each bring something special to the party!
Gently work these into your butter mixture until it’s all combined and has a lovely pink hue from the chopped cherries. Speaking of cherries, make sure you’ve got 1 cup of candied cherries, finely chopped and drained. If you find your dough looking a little dry or not quite pink enough, you can add a splash of that cherry liquid to bring it all together.
Once your dough is well-mixed, it’s time for a little shaping. Roll the dough into logs about 2 inches in diameter and wrap them in plastic wrap. Pop those in the freezer overnight—this is where the “icebox” part comes in. It might feel like a long wait, but trust me, it’s worth it.
When you’re ready to bake, preheat your oven to 375°F. Slice those logs thinly, about 1/4 inch thick, and place them on a greased baking sheet. Bake them for 6 to 8 minutes, or until they’re just starting to get golden around the edges. The aroma wafting through your kitchen will be the ultimate reward for your efforts, and soon enough, you’ll have delicious, chewy cookies to share—or keep all to yourself. No judgment here!
Gluten-Free Cherry Icebox Cookies Substitutions & Variations
Now that you’ve mastered the art of creating those delightful Gluten-Free Cherry Icebox Cookies, let’s explore some fun substitutions and variations to tailor the recipe to your taste.
For a nutty twist, try swapping out the light stoneground buckwheat flour for almond flour or hazelnut flour.
If you’re looking for a fruity alternative, dried cranberries or blueberries can replace the cherries.
You can also experiment with different extracts—almond or orange extract adds a unique flavor profile.
For a chocolatey spin, mix in some gluten-free chocolate chips.
If you need a dairy-free option, use coconut oil instead of butter.
Each variation opens up a world of flavor, so feel free to get creative and make it your own!
What to Serve with Gluten-Free Cherry Icebox Cookies
What pairs well with my Gluten-Free Cherry Icebox Cookies? I love serving these delightful cookies with a cup of freshly brewed coffee or a rich hot chocolate. The warmth of the drink complements the sweet, fruity flavors of the cookies beautifully.
If you’re in the mood for something lighter, a scoop of vanilla or cherry ice cream can elevate the experience, adding a creamy contrast.
For a more invigorating option, try a glass of iced herbal tea—its subtle notes won’t overpower the cookies.
Finally, don’t forget a sprinkle of powdered sugar on top for a touch of elegance. Each of these options brings out the best in my cherry-studded treats, making them perfect for any occasion.
Additional Tips & Notes
To guarantee your gluten-free cherry icebox cookies turn out perfectly, I recommend paying close attention to the consistency of the dough. If it feels too dry, don’t hesitate to add a splash of cherry syrup from the candied cherries. This not only enhances the flavor but also helps achieve that lovely pink hue.
When rolling the dough into logs, make sure they’re tightly wrapped to maintain their shape while freezing. Once you slice them for baking, keep an eye on them in the oven; every oven varies, so check for that golden edge.
Finally, let the cookies cool completely on the baking sheet before transferring them. This step makes certain they firm up nicely. Enjoy your delicious creation!